
Serverless Playwright the easy way with Azure Container Apps
Thursday, August 31, 2023
In the three years since I wrote about running headless browsers with Playwright and Puppeteer in Azure Functions, I've regularly received questions about it. While it's clear that there's a lot of interest in this topic, it's also clear that it's not the easiest thing to do. Running Playwright or Puppeteer in Azure Functions requires very specific dependencies and deployment steps that are difficult to get right.
I still love Azure Functions, but I now work on Azure Container Apps, a service that makes it easy to run containerized apps and microservices. In many ways, the two services are quite similar — they're both serverless with a consumption-based pricing model; and they both support HTTP and event-driven workloads. But while Azure Functions offers a super productive programming model, Container Apps offers the flexibility and control that comes from running in containers.
Because we need a highly customized compute environment to run Playwright (or Puppeteer), it's a great fit for containers and Azure Container Apps. Some of the benefits of running Playwright in Azure Container Apps include:
- Get full control over the container image. Playwright ships a pre-built image that we can use that already has all required dependencies installed. We can add our app and anything else we need to run it.
- Run Chromium, Firefox, and WebKit. Playwright's image supports and comes with all three browsers.
- Pay only for what we use. Azure Container Apps is a serverless platform that scales our app to zero when there are no requests. We only pay for the time our app is running.
- Eliminate cold starts. Azure Container Apps offers an optional idle billing mode that keeps our app running at all times so there are no cold starts. We're charged a much lower rate when the app is idle and isn't processing requests.
In this article, we'll look at how to run Playwright in Azure Container Apps in a web API scenario. We'll use Playwright to take a screenshot of a web page and return it as a response. In a follow up article, we'll look at how to run Playwright in Azure Container Apps using a scheduled job.
Building the app
The example I'll use here is for Node.js, but the same approach can be used for any language. We'll start by initializing a new Node.js project with npm and installing Playwright and Fastify, a lightweight web framework.
npm init -y
npm install playwright fastify
Note that at the time of this article, the above command installed playwright@1.35.0 and fastify@4.18.0. Newer versions might work differently.
We'll also need to download the browser executables:
npx playwright install
Next, we'll create a new file called index.js and add the following code to it.
const fastify = require('fastify')({ logger: true })
const playwright = require('playwright')

fastify.get('/screenshot', async (request, reply) => {
  let browser, context
  try {
    const url = request.query.url
    if (!url) {
      reply.code(400).send('Missing url query parameter')
      return
    }

    const browserType = request.query.browser || 'chromium'
    if (!['chromium', 'firefox', 'webkit'].includes(browserType)) {
      reply.code(400).send('Invalid browser type')
      return
    }

    browser = await playwright[browserType].launch()
    context = await browser.newContext()
    const page = await context.newPage()
    await page.goto(url)
    await page.waitForLoadState('networkidle')
    const imageBuffer = await page.screenshot({
      type: 'png',
      fullPage: true,
    })
    reply.header('Content-Type', 'image/png').send(imageBuffer)
  } finally {
    if (context) await context.close()
    if (browser) await browser.close()
  }
})

const start = async () => {
  try {
    await fastify.listen({
      port: 3000,
      host: '0.0.0.0',
    })
  } catch (err) {
    fastify.log.error(err)
    process.exit(1)
  }
}
start()
This code creates a Fastify web server with a single /screenshot route. The route accepts a url query parameter and an optional browser query parameter. It uses Playwright to open the URL in the specified browser and return a screenshot of the page.
Run the app locally:
node index.js
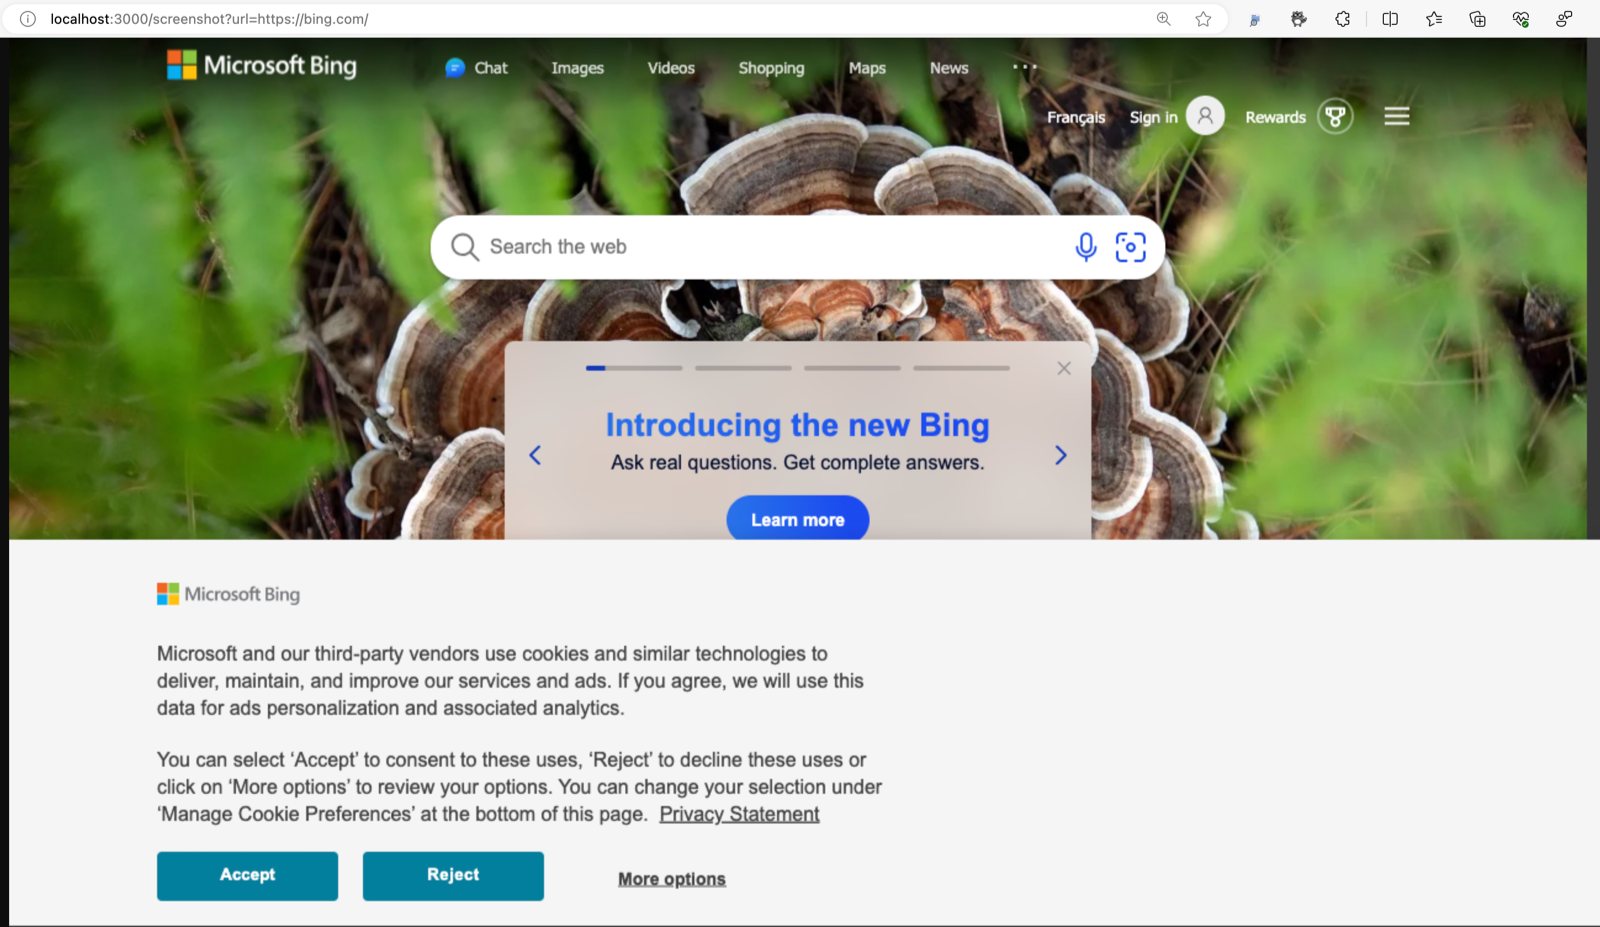
And test it out by visiting http://localhost:3000/screenshot?url=https://bing.com/ in a browser. We see a screenshot of Bing's homepage.
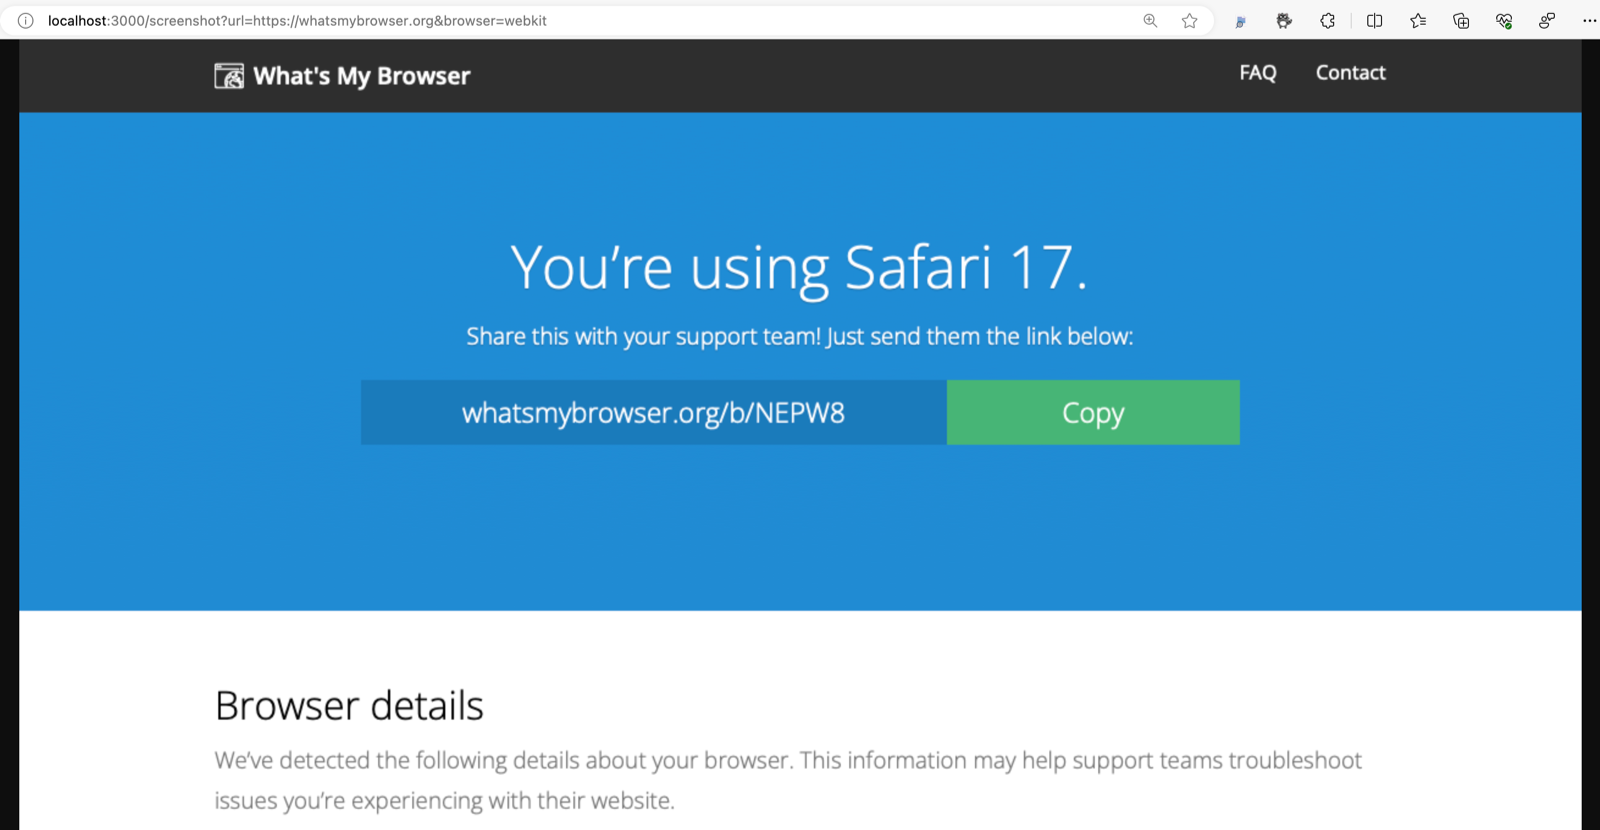
We can also try it with Firefox or WebKit by specifying the browser query parameter. For example, http://localhost:3000/screenshot?url=https://whatsmybrowser.org&browser=webkit returns a screenshot of the What's My Browser website which shows we're running WebKit (Safari).
Containerizing the app
To build a container image for our app, we'll need a Dockerfile. Playwright has a guide for running it in Docker. We'll use the official Node.js Docker image as the base image which already has Node.js, the browsers, and other dependencies installed.
FROM mcr.microsoft.com/playwright:v1.35.0-jammy
WORKDIR /usr/src/app
COPY ["package.json", "package-lock.json*", "npm-shrinkwrap.json*", "./"]
RUN npm install --production --silent && mv node_modules ../
COPY . .
EXPOSE 3000

CMD ["npm", "start"]
For Python apps, use mcr.microsoft.com/playwright/python as the base image. For .NET apps, use mcr.microsoft.com/playwright/dotnet.
Also add a .dockerignore file to exclude the node_modules directory from the image build context:
node_modules
We can test it out locally with Docker Desktop, or we can build it in the cloud with Azure Container Registry build tasks. We'll use the latter approach in the next section when we deploy it.
Deploying to Azure Container Apps
The easiest way to deploy our containerized app is to use the Azure CLI. We'll need to install the Azure CLI and sign in to our Azure account.
We also need to make sure the Azure Container Apps extension is installed.
az extension add --name containerapp --upgrade
With that out of the way, we're one command away from deploying our app to Azure Container Apps:
az containerapp up \
    --name aca-playwright \
    --resource-group test-aca-playwright \
    --environment test-aca-playwright \
    --location centralus \
    --source .
az containerapp up creates all the resources needed to run our app. Learn more about it in the docs.
The command outputs the deployed container app's URL. We can visit it in a browser and see our app running in Azure Container Apps. Add on a route like /screenshot?url=https://google.com and we can see it in action.
To make a change to the app and deploy it again, we simply run the same command again.
Azure Container Apps pricing
So that was easy, but how much does it cost? By default, Azure Container Apps are deployed on the Consumption plan which means we only pay for the time our app is being used.
The command we ran deployed our app with 0.5 vCPU and 1 GiB of memory. It also configured a scale rule to scale the app to 0 replicas when there are no requests.
The Consumption plan includes 180,000 vCPU-seconds and 360,000 GiB-seconds of memory per month for free. With our app's 0.5 vCPU and 1 GiB of memory, we can run a replica for 360,000 seconds (100 hours) per month for free. Many apps can run for free or at a very low cost. Check out the pricing page for more details.
For HTTP apps, there's also a per-request charge (currently $0.40 per million requests). Many apps don't have to worry about this because the first 2 million requests per month are free.
What about cold start?
Because serverless platforms scale our app to zero when there are no requests, the first request after a period of inactivity can be slower while the app spins up a replica. This is known as a cold start. Azure Container Apps offers an optional idle billing mode that keeps our app running at all times. This eliminates cold starts and lets our app respond immediately.
If we configure our app with a minimum replica count of at least 1, it stays running but enters idle billing mode when it's not processing requests. At idle, we're billed at a significantly reduced rate. When a request comes in, our app responds right away.
To learn more about billing, check out the billing docs.
Stay tuned for part 2
In this article, we looked at how to run Playwright in Azure Container Apps in a web API scenario. In a follow up article that I'll publish soon, we'll look at how to run Playwright in Azure Container Apps using a scheduled job.
In the three years since I wrote about running headless browsers with Playwright and Puppeteer in Azure Functions, I've regularly received questions about it. While it's clear that there's a lot of interest in this topic, it's also clear that it's not the easiest thing to do. Running Playwright or Puppeteer in Azure Functions requires very specific dependencies and deployment steps that are difficult to get right.
I still love Azure Functions, but I now work on Azure Container Apps, a service that makes it easy to run containerized apps and microservices. In many ways, the two services are quite similar — they're both serverless with a consumption-based pricing model; and they both support HTTP and event-driven workloads. But while Azure Functions offers a super productive programming model, Container Apps offers the flexibility and control that comes from running in containers.
Because we need a highly customized compute environment to run Playwright (or Puppeteer), it's a great fit for containers and Azure Container Apps. Some of the benefits of running Playwright in Azure Container Apps include:
- Get full control over the container image. Playwright ships a pre-built image that we can use that already has all required dependencies installed. We can add our app and anything else we need to run it.
- Run Chromium, Firefox, and WebKit. Playwright's image supports and comes with all three browsers.
- Pay only for what we use. Azure Container Apps is a serverless platform that scales our app to zero when there are no requests. We only pay for the time our app is running.
- Eliminate cold starts. Azure Container Apps offers an optional idle billing mode that keeps our app running at all times so there are no cold starts. We're charged a much lower rate when the app is idle and isn't processing requests.
In this article, we'll look at how to run Playwright in Azure Container Apps in a web API scenario. We'll use Playwright to take a screenshot of a web page and return it as a response. In a follow up article, we'll look at how to run Playwright in Azure Container Apps using a scheduled job.
Building the app
The example I'll use here is for Node.js, but the same approach can be used for any language. We'll start by initializing a new Node.js project with npm and installing Playwright and Fastify, a lightweight web framework.
npm init -y
npm install playwright fastify
Note that at the time of this article, the above command installed
playwright@1.35.0andfastify@4.18.0. Newer versions might work differently.
We'll also need to download the browser executables:
npx playwright install
Next, we'll create a new file called index.js and add the following code to it.
const fastify = require('fastify')({ logger: true })
const playwright = require('playwright')
fastify.get('/screenshot', async (request, reply) => {
let browser, context
try {
const url = request.query.url
if (!url) {
reply.code(400).send('Missing url query parameter')
return
}
const browserType = request.query.browser || 'chromium'
if (!['chromium', 'firefox', 'webkit'].includes(browserType)) {
reply.code(400).send('Invalid browser type')
return
}
browser = await playwright[browserType].launch()
context = await browser.newContext()
const page = await context.newPage()
await page.goto(url)
await page.waitForLoadState('networkidle')
const imageBuffer = await page.screenshot({
type: 'png',
fullPage: true,
})
reply.header('Content-Type', 'image/png').send(imageBuffer)
} finally {
if (context) await context.close()
if (browser) await browser.close()
}
})
const start = async () => {
try {
await fastify.listen({
port: 3000,
host: '0.0.0.0',
})
} catch (err) {
fastify.log.error(err)
process.exit(1)
}
}
start()
This code creates a Fastify web server with a single /screenshot route. The route accepts a url query parameter and an optional browser query parameter. It uses Playwright to open the URL in the specified browser and return a screenshot of the page.
Run the app locally:
node index.js
And test it out by visiting http://localhost:3000/screenshot?url=https://bing.com/ in a browser. We see a screenshot of Bing's homepage.
We can also try it with Firefox or WebKit by specifying the browser query parameter. For example, http://localhost:3000/screenshot?url=https://whatsmybrowser.org&browser=webkit returns a screenshot of the What's My Browser website which shows we're running WebKit (Safari).
Containerizing the app
To build a container image for our app, we'll need a Dockerfile. Playwright has a guide for running it in Docker. We'll use the official Node.js Docker image as the base image which already has Node.js, the browsers, and other dependencies installed.
FROM mcr.microsoft.com/playwright:v1.35.0-jammy
WORKDIR /usr/src/app
COPY ["package.json", "package-lock.json*", "npm-shrinkwrap.json*", "./"]
RUN npm install --production --silent && mv node_modules ../
COPY . .
EXPOSE 3000
CMD ["npm", "start"]
For Python apps, use
mcr.microsoft.com/playwright/pythonas the base image. For .NET apps, usemcr.microsoft.com/playwright/dotnet.
Also add a .dockerignore file to exclude the node_modules directory from the image build context:
node_modules
We can test it out locally with Docker Desktop, or we can build it in the cloud with Azure Container Registry build tasks. We'll use the latter approach in the next section when we deploy it.
Deploying to Azure Container Apps
The easiest way to deploy our containerized app is to use the Azure CLI. We'll need to install the Azure CLI and sign in to our Azure account.
We also need to make sure the Azure Container Apps extension is installed.
az extension add --name containerapp --upgrade
With that out of the way, we're one command away from deploying our app to Azure Container Apps:
az containerapp up \
--name aca-playwright \
--resource-group test-aca-playwright \
--environment test-aca-playwright \
--location centralus \
--source .
az containerapp up creates all the resources needed to run our app. Learn more about it in the docs.
The command outputs the deployed container app's URL. We can visit it in a browser and see our app running in Azure Container Apps. Add on a route like /screenshot?url=https://google.com and we can see it in action.
To make a change to the app and deploy it again, we simply run the same command again.
Azure Container Apps pricing
So that was easy, but how much does it cost? By default, Azure Container Apps are deployed on the Consumption plan which means we only pay for the time our app is being used.
The command we ran deployed our app with 0.5 vCPU and 1 GiB of memory. It also configured a scale rule to scale the app to 0 replicas when there are no requests.
The Consumption plan includes 180,000 vCPU-seconds and 360,000 GiB-seconds of memory per month for free. With our app's 0.5 vCPU and 1 GiB of memory, we can run a replica for 360,000 seconds (100 hours) per month for free. Many apps can run for free or at a very low cost. Check out the pricing page for more details.
For HTTP apps, there's also a per-request charge (currently $0.40 per million requests). Many apps don't have to worry about this because the first 2 million requests per month are free.
What about cold start?
Because serverless platforms scale our app to zero when there are no requests, the first request after a period of inactivity can be slower while the app spins up a replica. This is known as a cold start. Azure Container Apps offers an optional idle billing mode that keeps our app running at all times. This eliminates cold starts and lets our app respond immediately.
If we configure our app with a minimum replica count of at least 1, it stays running but enters idle billing mode when it's not processing requests. At idle, we're billed at a significantly reduced rate. When a request comes in, our app responds right away.
To learn more about billing, check out the billing docs.
Stay tuned for part 2
In this article, we looked at how to run Playwright in Azure Container Apps in a web API scenario. In a follow up article that I'll publish soon, we'll look at how to run Playwright in Azure Container Apps using a scheduled job.